How to prepare a kitchen for new countertops? Upgrading your kitchen countertops is an exciting way to refresh your space and add value to your home. However, the installation process can be a bit daunting if you’re not properly prepared. From clearing out cabinets to ensuring a smooth installation day, proper preparation can make the whole experience faster, easier, and less stressful. In this guide, we’ll walk you through the steps to get your kitchen ready for those beautiful new countertops.
1. Clear Off the Old Countertops
Before anything else, you’ll need to completely clear off your existing countertops. This includes:
- Small Appliances: Remove toasters, coffee makers, blenders, and other appliances.
- Utensils and Kitchen Tools: Store utensils, knife blocks, and cutting boards away temporarily.
- Decor and Miscellaneous Items: Take away decorative pieces, paper towel holders, and any other items sitting on your countertops.
Use boxes or storage bins to keep everything organized and out of the way.
2. Empty the Cabinets and Drawers Below
During the installation, the installers will need access to the area underneath the countertops. To prevent damage and ensure smooth access:
- Empty cabinets and drawers: Remove pots, pans, dishes, and anything stored directly below your countertops.
- Store items safely: Use labeled boxes to keep track of where everything belongs.
This step also prevents dust and debris from getting on your kitchen essentials.
3. Disconnect Plumbing and Appliances
If your countertops include a sink or cooktop, you’ll need to disconnect the plumbing and gas lines:
- Turn off water supply: Shut off the valves under the sink and disconnect the plumbing.
- Unhook appliances: Detach cooktops and other built-in appliances if applicable.
- Consult professionals: If you’re not comfortable doing this yourself, consider hiring a plumber or technician.
Most countertop installers do not handle plumbing or gas line disconnections, so it’s important to arrange this beforehand.
4. Remove Existing Countertops (If Required)
Some installation services include the removal of old countertops, but if you’re doing it yourself:
- Use proper tools: Equip yourself with a pry bar, screwdriver, and putty knife.
- Be cautious: Take care not to damage cabinets or walls during removal.
- Dispose of materials: Arrange for proper disposal of the old countertops.
Check with your installer to confirm if this step is needed.
5. Create a Clear Path for Installers
Countertops can be heavy and cumbersome to move, so it’s essential to create a clear path from your door to the kitchen:
- Move furniture: Temporarily relocate furniture that might obstruct the path.
- Protect floors: Use drop cloths or old sheets to prevent scratches or scuffs.
- Secure pets and children: Ensure pets and kids are out of the way during installation.
This not only helps the installers but also prevents potential damage to your home.
6. Prepare for Dust and Debris
Installing new countertops can be a dusty job. To minimize the mess:
- Cover nearby furniture: Use plastic sheeting to protect nearby items.
- Close off rooms: Hang plastic sheets to prevent dust from spreading.
- Ventilate: Open windows and use fans to help clear dust and fumes.
Having a vacuum or broom handy can make post-installation cleanup easier.
7. Double-Check Measurements and Specifications
It’s a good idea to recheck measurements and confirm details with your installer a day or two before installation:
- Confirm dimensions: Ensure all measurements are accurate and match your new countertops.
- Check sink and appliance cutouts: Verify that the installer has the correct templates for any sink or cooktop cutouts.
This avoids last-minute surprises and ensures a smooth installation.
8. Plan for a Temporary Kitchen Setup
Countertop installation can take a day or more, so planning a temporary kitchen setup is wise:
- Set up a prep area: Use a folding table or a cleared-off dining table for meal prep.
- Stock disposable items: Have paper plates, plastic utensils, and ready-to-eat meals on hand.
- Plan simple meals: Consider takeout or easy-to-make meals for installation day.
This keeps your family fed and happy while your kitchen is out of commission.
9. Review the Installation Process with Your Installer
Before the day arrives, touch base with your installer to go over:
- Arrival time: Confirm when they will arrive and how long the installation will take.
- Seam locations: Discuss where countertop seams will be and how they will be minimized.
- Post-installation care: Ask about sealing, cleaning, and maintenance requirements.
Clear communication prevents misunderstandings and ensures a seamless installation experience.
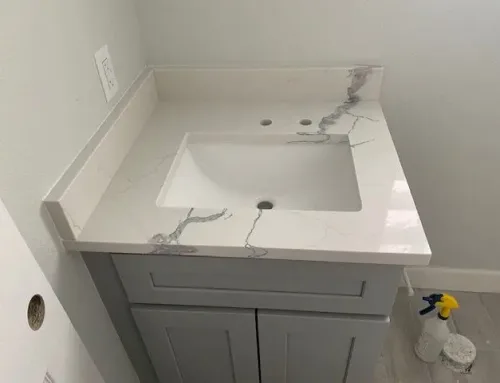
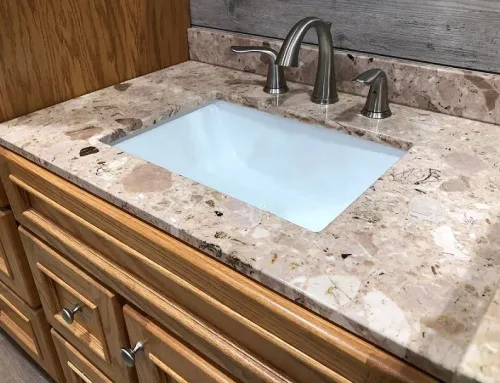
10. Inspect the Finished Countertops
Once the installation is complete, do a thorough inspection:
- Check for seams and edges: Ensure they are smooth and properly aligned.
- Look for damage: Inspect for scratches, chips, or other imperfections.
- Test plumbing: If a sink is installed, turn on the water and check for leaks.
If you spot any issues, report them immediately to the installer to get them resolved promptly.
Conclusion – How to prepare a kitchen for new countertops?
So how to prepare a kitchen for new countertops? Preparing your kitchen for new countertops might seem overwhelming, but with proper planning and these simple steps, you can make the process hassle-free. Clearing the space, protecting your home, and coordinating with your installer ensures a smooth and successful countertop upgrade. Soon, you’ll be enjoying your stunning new countertops in a kitchen that feels brand new!